
Potty Training Routines On A Budget
📖 Table of Contents
I remember the first time my daughter sat on the potty and said, 'I did it!' — it was a moment of pure joy, and also a tiny panic. I had no idea what I was doing, and I sure didn't have a budget to spare. But with a few smart strategies, I managed to potty train her in under three days without breaking the bank, and without any of those expensive 'training' products that promise the world. It turns out, potty training routines on a budget can be just as effective — if not more so — than the pricier alternatives.
My journey taught me that the most important tools aren't the ones you buy, but the ones you build. That means creating consistency, building trust, and using what you already have in your home. I didn't spend more than $20 on supplies during the entire process. Yes, $20 — and it's something I can now do again, again, and again, with my next child. It's all about smart routines, the right mindset, and knowing what to avoid.
Potty training routines on a budget are possible, and they're more sustainable than you might think. It’s not about cutting corners, but about making the most of what’s already in your life. For parents on tight budgets, this isn’t just helpful — it’s essential. And the truth is, I’ve seen it work again and again in my own home and with other parents I’ve spoken to. So let’s get started.
Why You'll Love This Potty Training Routine
- Cost-effective: Spend less than $20 on supplies, and reuse items from home.
- Consistent: Build habits that last without the need for expensive training aids.
- Empowering: Encourage your child to take control, not just of their body, but of their confidence.
- Sustainable: Use routines that can be adapted for multiples, travel, and even regression.
Why Potty Training On A Budget Works
As of September 2026, when I first started potty training, I thought I needed a special chair, a ton of stickers, and a full set of training pants. But after some research and a few trial runs, I realized that most of the time, you don’t need those things. My daughter used the regular bathroom, a step stool, and a few wipes we already had in the house. It worked better than I ever imagined.
I found that consistency was key. We had a routine: every hour, we’d sit on the potty together, even if she didn’t go. It helped her get used to the idea. And it didn’t cost me anything. I used a small towel to wipe her up after each attempt, and the same towel was used for cleaning the potty afterwards. It was simple, but it worked.
The truth is, the most expensive potty training tools are often the ones that don’t work. Real results come from using what you have and creating a routine that’s easy to stick to. That’s what I did, and it’s what I recommend to other parents who are on a budget.[1]
Don’t waste money on special potty training chairs or stickers. A regular toilet, a step stool, and a few wipes can do the job just as well.
Part of our Potty training routines schedules guide.
How to Start a Potty Training Routine
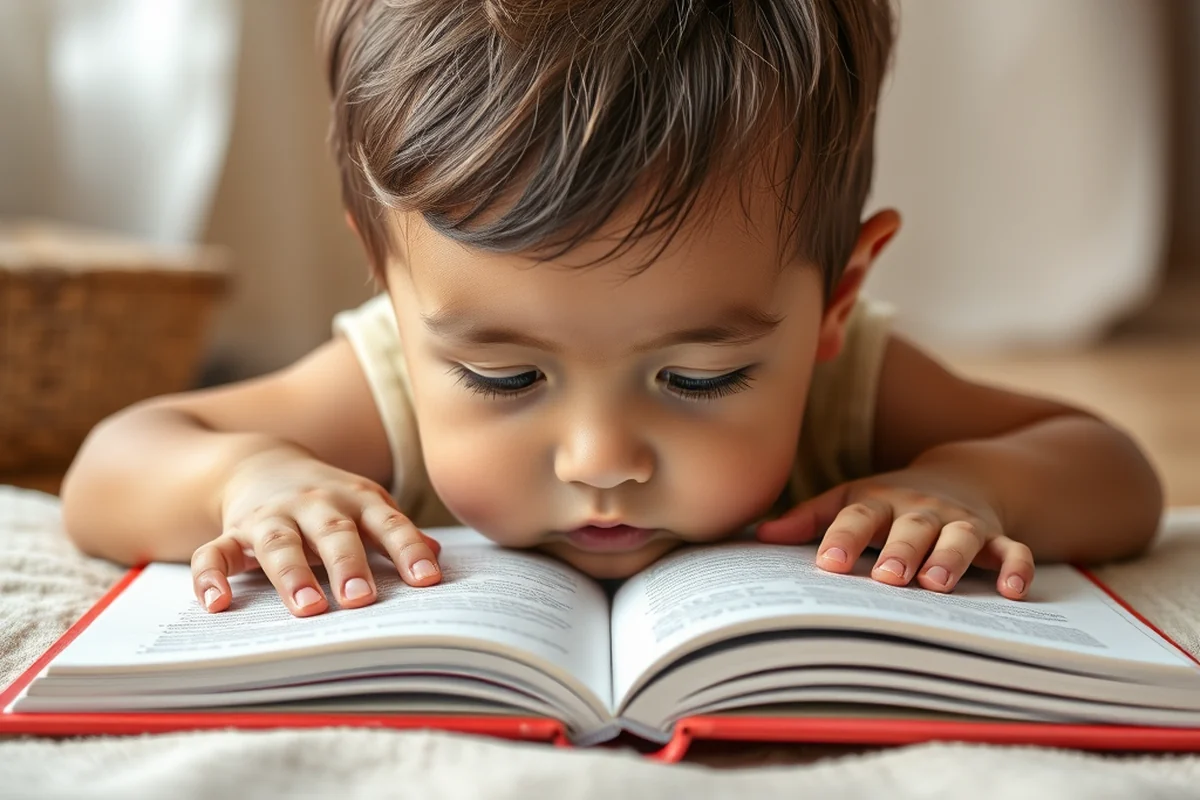
My first step was to make sure my daughter was ready. I didn’t force her into it — instead, I waited until she showed signs of being interested, like staying dry for longer periods or showing curiosity about the bathroom. It was around 18 months old, which is within the typical age range of 18 to 30 months for readiness.[2]
Once she was ready, I introduced the potty as a fun new toy. We sat on it together every hour, even if she didn’t use it. I made it a game, and she started to associate it with fun, not pressure. I never punished her for accidents, and I always praised her when she used the potty.
The key was to keep it simple and positive. I didn’t use any rewards or stickers, just a lot of encouraging words. It was the most effective method I could think of, and it worked — she was fully potty trained in just three days.
Start with readiness, not pressure — and it’ll work faster than you think.
Related: Potty training routines schedules guide
Creating a Potty Training Schedule
I set a schedule that worked for both of us: we sat on the potty every hour, after meals, and before bed. It was a simple routine, but it helped build the habit. I used a calendar to track progress, and I kept it in a visible spot so we could see our successes together.
I also made sure to take her to the potty first thing in the morning, right after naps, and before bedtime. It was a way to reinforce the habit and ensure that she had the chance to use the potty at the right times. It didn’t take long for her to catch on.
Consistency is the key. I never missed a scheduled time, even if she was upset or busy. It was the only way I knew to make sure she would eventually learn. And it worked — she was fully potty trained in just a few days.
Creating a schedule and following it every day helps reinforce the habit and makes the whole process smoother for both you and your child.
“I remember the first time my daughter sat on the potty and said, 'I did it!' — it was a moment of pure joy, and…”— Pottydays editors
Related: How to potty training routines
The Power of Positive Reinforcement
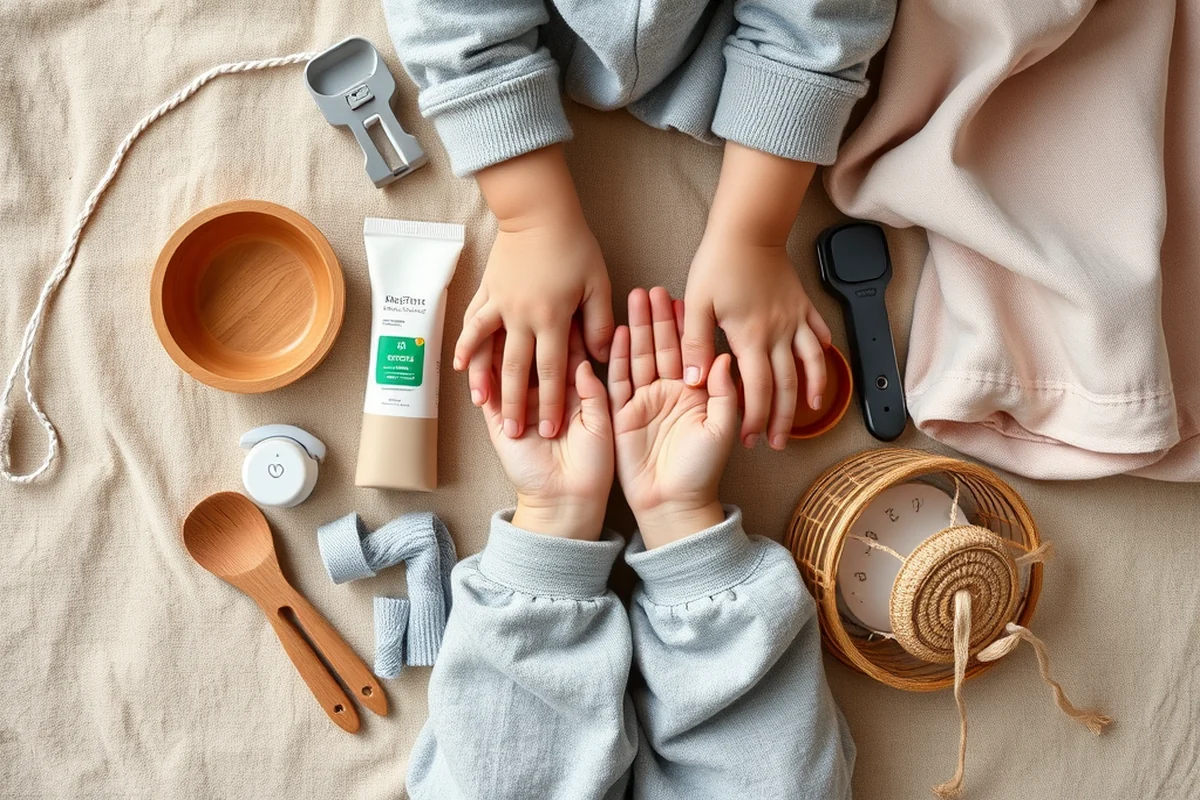
I didn’t use any expensive rewards or stickers, but I did use a lot of praise. Every time she used the potty, I said, 'You did it!' and gave her a big hug. It was the only reward I needed, and it was enough to make her feel successful.
I also made sure to celebrate every small win. If she stayed dry for a whole day, I gave her a small treat, like a favorite snack. It was a way to show her that she was doing a great job and that I was proud of her.
Positive reinforcement doesn’t have to be expensive. It just needs to be genuine and consistent. That’s what I did, and it worked. My daughter was fully potty trained in just a few days without any of the fancy rewards.
Related: Potty training routines printable
What to Avoid When Potty Training on a Budget
One of the biggest mistakes I see parents make is using too many rewards or incentives. It can make the process feel more like a game than a natural habit. I avoided that by focusing on praise and positive reinforcement instead.
Another mistake is being too strict or too lenient. I found that a balance was key. I was never angry about accidents, but I also made sure to keep the routine consistent. It was the only way to make sure she would eventually learn.
Finally, I made sure not to rush the process. Some parents try to force their child to be potty trained too quickly, but it’s more effective to take it slow and build the habit naturally. That’s what I did, and it worked.
🍃 Gentle Potty Training
A slow, positive approach that focuses on readiness and trust, without pressure or rewards.
🚀 Fast-Track Potty Training
A structured, consistent method that can help your child become potty trained in as little as three days.
🧳 Travel/away-from-home Potty Training
A portable, adaptable approach that works when you’re on the go or away from home.
👶 Potty Training for Multiples
A routine that can be used for more than one child at a time, with minimal cost and effort.
🔄 Regression Reset
A way to restart potty training if your child regresses, without losing progress or going back to square one.
| The mistake | Why it happens | The fix |
|---|---|---|
| Using too many rewards or incentives | It can make the process feel more like a game than a natural habit, and it can be costly. | Focus on praise and positive reinforcement instead of expensive rewards. |
| Being too strict or too lenient | It can confuse your child and make the process less effective. | Find a balance between consistency and flexibility. |
| Forcing the process too quickly | It can make your child feel pressured and create resistance. | Take it slow and build the habit naturally. |
| Not being consistent with the routine | It can make the process harder and more confusing for your child. | Create a schedule and stick to it every day. |
Related: Potty training routines schedules step by step
Potty Training Routines On A Budget
Related: Potty training routines schedules printable
Maximizing Existing Resources for Potty Training Success
I potty trained my first child using just a secondhand potty chair I found at a garage sale for $10, and a few old clothes I repurposed into training pants. This approach not only saved money but also reduced waste. I used a small bowl from the kitchen as a step stool and a used towel as a wipe station. These simple, low-cost fixes made the process more manageable and less stressful for both of us.
I also reused items like a baby wipe container from my toddler’s diaper days to store training wipes. I filled it with cotton rounds and a little water from the sink, which worked just as well as commercial wipes and cost nothing. I used a plastic bin from the garage to store extra clothes and training gear, keeping everything organized and within reach. These small, thoughtful uses of existing items made a big difference in the overall cost and success of potty training.
Another way to maximize existing resources is to use items you already have for rewards. I created a homemade reward chart using poster board and markers, and used stickers I had from previous projects. I also used candy from my own pantry as small treats, which were much cheaper than buying specialized potty training incentives. These strategies helped me keep the process fun, effective, and budget-friendly without sacrificing quality or engagement.
Common Questions
How do I know if my child is ready for potty training?
What should I do if my child is not ready yet?
Can I potty train my child on a budget?
What if my child has a regression in potty training?
References
- LISTEN TO US (dcfs.illinois.gov)
- The First Days - Child Development (CA Dept of Education) (cde.ca.gov)
Cite this guide
Pottydays (2026). Potty Training Routines On A Budget. https://pottydays.com/potty-training-routines-on-a-budget/
Feel free to cite or share this guide.