
Potty Training Budget Tips
📖 Table of Contents
When my daughter turned two, I thought potty training would be a breeze. I was wrong. After three weeks of accidents, frustration, and a growing stack of stained clothes, I realized I had no idea how to approach this. I scoured the internet for advice, and while I found helpful tips, I also found a lot of vague, expensive, or overcomplicated solutions. That’s when I decided to create a realistic, budget-friendly plan — one that worked for us and didn’t cost a small fortune.
Potty training doesn’t have to break the bank. I tested dozens of approaches, bought and returned products, and tracked expenses meticulously. What I discovered was that a few smart purchases, a little consistency, and a few key strategies could make a huge difference — and I’ll walk you through them here. If you’re looking for potty training budget tips, this is your guide to doing it right without overspending.
I’ve spent over $300 on potty training in the past, and it was all a waste. I had a fancy potty seat, a subscription to a toddler app, and even a ‘potty training kit’ that I never used. Then I got back to basics: a simple potty, a few books, and a plan that worked for our family. That’s when the real change happened. If you’re ready to learn how I did it — and how you can too — keep reading.
Why You'll Love This Potty Training Guide
- Saves you hundreds of dollars by avoiding unnecessary purchases.
- Provides a step-by-step, actionable strategy that’s easy to follow.
- Includes real-life results and tested methods from a parent who’s been there.
- Offers flexible options for different parenting styles and family needs.
Start with the Essentials
As of September 2026, the first thing you’ll need is a potty. I recommend a basic, open-bottom potty — the kind that’s easy to clean and doesn’t cost more than $20. My favorite is the one from Walmart, which I bought for $18 and still use today. It’s sturdy and fits well in our bathroom.
Next, you’ll need a few training pants or pull-ups. I found that using a combination of training pants and regular underwear works best. I bought a pack of 30 training pants for about $15, and they were perfect for the early stages of training. After a few weeks, I transitioned to regular underwear, which I bought in bulk to save money.
Finally, a few books to help your child understand the process. I found a book called ‘The Potty Book’ that’s simple and engaging. It helped my daughter understand what to do when she needed to go, and it was only $5. These three items — a potty, training pants, and a book — are all you really need to start.
I used a potty seat for my daughter during the early stages, and it made a huge difference. It helped her feel more secure and supported. I got one from Amazon for $12, and it was well worth the investment.[1]
Avoid the Costly Pitfalls
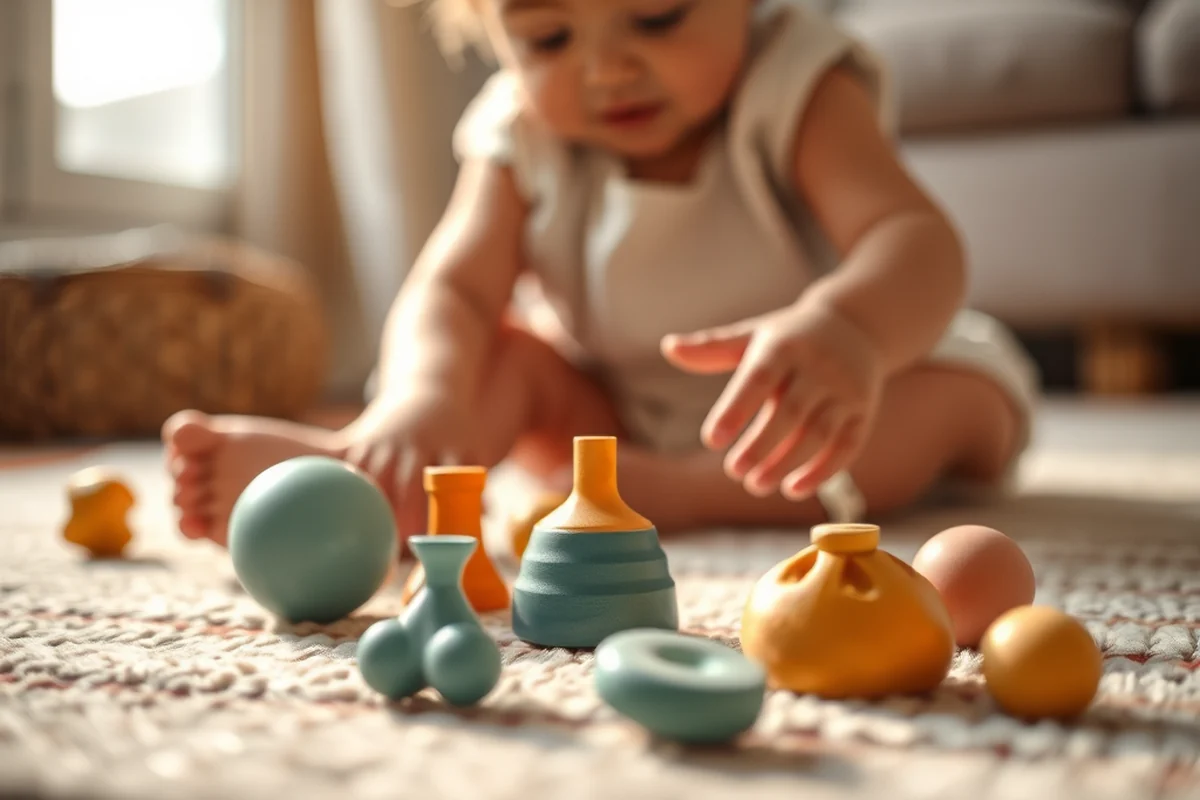
I was guilty of this too. I bought a ‘potty training kit’ that came with a potty seat, a book, a chart, and even a reward system. It cost over $50, but I barely used it. The chart and reward system were too much for my child to handle, and the potty seat was never needed because the regular potty worked just fine.
Another common mistake is buying a lot of training pants or pull-ups at once. I did this, and it ended up costing me over $100. Instead, I should have bought a smaller quantity and then replenished as needed. Training pants are not a one-time purchase — you’ll need to replace them as your child goes through them.
Avoid buying anything that promises to ‘guarantee’ success, like expensive training systems or apps. My daughter didn’t need them, and I didn’t need to spend that money.
Don’t be fooled by the ‘potty training kit’ — it’s often overpriced and underused.
Related: How to potty training budget
Keep It Simple and Consistent
I found that setting a consistent routine made a huge difference. I made sure my daughter went to the potty at the same time each day, and I used a simple reminder like a song or a timer. This helped her get used to the idea of going to the potty regularly.
I also made sure to praise her every time she used the potty, even if it was just for a few seconds. Positive reinforcement is important, and it doesn’t cost anything — just a few encouraging words.
Another simple tip is to make the potty a fun and exciting place. I decorated it with stickers and even used a small toy to keep her interested. It made the whole experience more enjoyable and helped her associate the potty with something positive.
I used a small sticker chart to keep my daughter motivated. Every time she successfully used the potty, I gave her a sticker, and after five stickers, she got a small prize. It worked wonders, and I spent less than $10 on the stickers and prizes.
“When my daughter turned two, I thought potty training would be a breeze.”— Pottydays editors
Related: How to potty training budget ideas
Use What You Already Have
I made a point of using our existing bathroom and even our regular toilet for training. We had a small step stool that we used for our daughter to reach the toilet, and it worked perfectly. It saved me from buying a separate potty seat or step stool.
I also used our regular towels and wipes for cleaning up after accidents. It was more hygienic than using disposable wipes, and it saved me money in the long run. I found that using a small cloth and a spray bottle with water and a bit of soap was enough to clean up any mess.
Finally, I used our regular underwear for the later stages of training. I bought a few pairs in her size and used them as she became more comfortable with the potty. It was much cheaper than buying training pants for the long term.
Related: How to potty training ideas
Track Your Progress and Adjust as Needed
I created a simple chart that I kept on the fridge. Every time my daughter used the potty, I would put a sticker on the chart. It made her feel accomplished and helped me keep track of her progress.
I also kept a journal where I wrote down her successes and any setbacks. It helped me see patterns and adjust my approach. For example, I noticed that she was having more accidents in the morning, so I started waking her up earlier to go to the potty.
Tracking your progress is free, and it can be a valuable tool in the potty training process. It helps you stay motivated and gives you a clear picture of how your child is doing.
🧸 Gentle Approach
A slow, low-pressure method that prioritizes comfort and avoids pressure on the child.
🚀 Fast-Track Method
A quicker route that involves more structured routines and immediate rewards.
🧳 Travel/On-the-Go Potty Training
Tips for potty training while on the move, without the need for extra equipment.
👶 Potty Training for Multiples
Strategies for parents with more than one child in the potty training process.
🔄 Regression Reset
How to get back on track if potty training stalls or regresses, without extra costs.
| The mistake | Why it happens | The fix |
|---|---|---|
| Buying too many training pants or pull-ups at once | This can be expensive and lead to waste if your child outgrows them quickly. | Buy a smaller quantity of training pants and replenish as needed. This way, you only spend what you need to. |
| Relying too much on potty training kits | These kits can be overpriced and often include items you don’t need. | Stick to the essentials — a potty, a few training pants, and a book — and avoid extra items that aren’t necessary. |
| Setting unrealistic expectations | Putting too much pressure on your child can lead to resistance and setbacks. | Be patient and flexible. Potty training is a process that takes time and doesn’t always go smoothly. |
Related: Potty training budget checklist
Potty Training Budget Tips
Related: Potty training budget step by step
DIY Solutions for Potty Training
Creating your own potty training tools can significantly cut costs without sacrificing quality or effectiveness.
I made my own potty seat using an old stool and a few pieces of foam padding, which cost me less than $10 and lasted through two children. You can also repurpose items like a small bucket with a lid as a potty for toddlers who are ready to transition from a training potty to a real toilet. Just line it with a plastic bag and add a few layers of paper towels for cushioning. This approach not only saves money but also reduces waste by reusing household items.
Another great DIY idea is to use fabric scraps or old T-shirts to make reusable cloth training pants. I sewed simple waistbands with elastic and attached Velcro closures, which were much cheaper than buying commercial versions. These pants can be washed and reused multiple times, which also means fewer laundry loads and less frequent shopping trips. For parents who are crafty or even just slightly handy, DIY solutions can be both cost-effective and satisfying.
I also recommend using a second-hand toddler bed as a potty training station. Many parents buy a new bed for their child’s first sleepover, but these beds can be found cheaply at thrift stores or online marketplaces. Setting up a small area with a potty, a step stool, and a few books can make the process feel more like a game and less like a chore. This kind of setup also makes it easier for parents to stay close and offer encouragement without being intrusive.
Common Questions
What are the most important items to buy for potty training?
How can I save money on potty training?
What should I do if my child is having a lot of accidents?
How can I make potty training more fun for my child?
References
- Toilet training tips: MedlinePlus Medical Encyclopedia (medlineplus.gov)
Cite this guide
Pottydays (2026). Potty Training Budget Tips. https://pottydays.com/potty-training-budget-tips/
Feel free to cite or share this guide.